ownCloud install and configuration on Nginx
Below guide will show you how to install ownCloud on Nginx web server setup through Centmin Mod LEMP web stack. I used the OwnCloud Admin Manual's outlined manual installation method as basis for the below guide.
This is the first time I have used or tried ownCloud installation. So the guide is provided as is without any support. If you have ownCloud related issues or questions, best to post them to their official forums http://forum.owncloud.org.
To learn more about ownCloud features click here.
This guide assumes you have already installed Centmin Mod v1.2.3+ and followed the Getting Started Guide.
- Step 1. MySQL database & MySQL user setup
- Step 2. Add Nginx vhost for your domain
- Step 3. Download and setup ownCloud files
- Step 4. Install and setup SSL certificate on Nginx web server
- Step 5. Setup Nginx vhost domain for ownCloud specific rewrites
- Step 6. Restarting Nginx web server
- Step 7. ownCloud web browser setup
- Optional: Enabling PHP LDAP extension support
- Notes - other notes
Step 1. Create MySQL database, MySQL username and password and grant privileges to the created MySQL database.
Where:
- MySQL database name =
owncloud1db - MySQL username =
owncloud1username - MySQL password =
yourmysqlpass
mysqladmin -u root -p create owncloud1db
mysql -u root -p -e "CREATE USER 'owncloud1username'@'localhost' IDENTIFIED BY 'yourmysqlpass';"
mysql -u root -p -e "GRANT SELECT, INSERT, UPDATE, DELETE, CREATE, DROP, INDEX, ALTER, LOCK TABLES, CREATE TEMPORARY TABLES ON owncloud1db.* TO 'owncloud1username'@'localhost'; FLUSH PRIVILEGES;"
Step 2. Run centmin.sh menu option #2 to create your domain's Nginx vhost if it hasn't already been created. For example, I created owncloud1.com domain Nginx vhost which has Nginx vhost file at /usr/local/nginx/conf/conf.d/owncloud1.com.conf and web root at /home/nginx/domains/owncloud1.com/public both of which is automatically created when you run centmin.sh menu option #2
--------------------------------------------------------
Centmin Mod 1.2.3-eva2000.07 - http://centminmod.com
--------------------------------------------------------
                   Centmin Mod Menu
--------------------------------------------------------
1).  Centmin Install
2).  Add Nginx vhost domain
3).  NSD setup domain name DNS
4).  Nginx Upgrade / Downgrade
5).  PHP Upgrade / Downgrade
6).  XCache Re-install
7).  APC Cache Re-install
8).  XCache Install
9).  APC Cache Install
10). Memcached Server Re-install
11). MariaDB 5.2, 5.5, 10 Upgrade Sub-Menu
12). Zend OpCache Install/Re-install
13). Install ioping.sh vbtechsupport.com/1239/
14). SELinux disable
15). Install/Re-install ImageMagick PHP Extension
16). Change SSHD Port Number
17). Multi-thread compression: pigz,pbzip2,lbzip2,p7zip etc
18). Suhosin PHP Extension install
19). Install FFMPEG and FFMPEG PHP Extension
20). NSD Re-install
21). Exit
--------------------------------------------------------
Enter option [ 1 - 21 ] 2
--------------------------------------------------------

---------------------------------------------
Enter vhost domain name you want to add (without www. prefix): owncloud1.com


---------------------------------------------
nginx: the configuration file /usr/local/nginx/conf/nginx.conf syntax is ok
nginx: configuration file /usr/local/nginx/conf/nginx.conf test is successful
Reloading nginx:                                           [  OK  ]

---------------------------------------------
vhost for owncloud1.com created successfully
vhost conf file for owncloud1.com created: /usr/local/nginx/conf/conf.d/owncloud1.com.conf
upload files to /home/nginx/domains/owncloud1.com/public
vhost log files directory is /home/nginx/domains/owncloud1.com/log

Current vhost listing at: /usr/local/nginx/conf/conf.d/

Apr 30  14:08   798    ssl.conf
Apr 30  14:08   1.1K   demodomain.com.conf
Apr 30  14:08   1.4K   virtual.conf
May 1   01:41   2.3K   owncloud1.com.conf
May 1   03:09   1.3K   owncloud1.com.conf
---------------------------------------------
Step 3. Download and setup Owncloud files
cd /usr/local/nginx/html/
mkdir owncloud
cd owncloud/
wget http://download.owncloud.org/community/owncloud-6.0.3.tar.bz2
tar xjf owncloud-6.0.3.tar.bz2
cd owncloud
cp -Rpf * /home/nginx/domains/owncloud1.com/public
cd /home/nginx/domains/owncloud1.com/public
chown -R nginx:nginx *
rm -rf /usr/local/nginx/html/owncloud
- Note: Centmin Mod installed PHP-FPM already sets max upload size to 15M out of the box
php -i | grep 15M
post_max_size => 15M => 15M
upload_max_filesize => 15M => 15M
Step 4. Install and setup your SSL certificate for Nginx server as per instructions at http://centmin.com/nginx_configure_https_ssl_spdy.html
Step 5. Setup Centmin Nginx vhost for domain created in Step 2..
Edit /usr/local/nginx/conf/conf.d/owncloud1.com.conf to the following.
server {
            listen   80;
            server_name owncloud1.com www.owncloud1.com;
            return 301 https://$server_name$request_uri;
       }

server {
listen 443 ssl http2;
 server_name owncloud1.com;

        ssl_certificate      /usr/local/nginx/conf/ssl/domaincom/ssl-unified.crt;
        ssl_certificate_key  /usr/local/nginx/conf/ssl/domaincom/ssl.key;

ssl_protocols SSLv3 TLSv1 TLSv1.1 TLSv1.2;
        ssl_session_cache      shared:SSL:10m;
        ssl_session_timeout  10m;
        ssl_ciphers TLS13-AES-128-GCM-SHA256:TLS13-AES-256-GCM-SHA384:TLS13-CHACHA20-POLY1305-SHA256:TLS13-AES-128-CCM-8-SHA256:TLS13-AES-128-CCM-SHA256:ECDHE-ECDSA-AES128-GCM-SHA256:ECDHE-RSA-AES128-GCM-SHA256:ECDHE-ECDSA-AES256-GCM-SHA384:ECDHE-RSA-AES256-GCM-SHA384:ECDHE-ECDSA-CHACHA20-POLY1305:ECDHE-RSA-CHACHA20-POLY1305:DHE-RSA-AES128-GCM-SHA256:DHE-RSA-AES256-GCM-SHA384:ECDHE-ECDSA-AES128-SHA256:ECDHE-RSA-AES128-SHA256:ECDHE-ECDSA-AES128-SHA:ECDHE-RSA-AES256-SHA384:ECDHE-RSA-AES128-SHA:ECDHE-ECDSA-AES256-SHA384:ECDHE-ECDSA-AES256-SHA:ECDHE-RSA-AES256-SHA:DHE-RSA-AES128-SHA256:DHE-RSA-AES128-SHA:DHE-RSA-AES256-SHA256:DHE-RSA-AES256-SHA:ECDHE-ECDSA-DES-CBC3-SHA:ECDHE-RSA-DES-CBC3-SHA:EDH-RSA-DES-CBC3-SHA:AES128-GCM-SHA256:AES256-GCM-SHA384:AES128-SHA256:AES256-SHA256:AES128-SHA:AES256-SHA:DES-CBC3-SHA:!DSS;
        ssl_prefer_server_ciphers   on;
        add_header Alternate-Protocol  443:npn-spdy/3;
        add_header Strict-Transport-Security "max-age=31536000; includeSubdomains;";
        #add_header  X-Content-Type-Options "nosniff";
        #add_header X-Frame-Options DENY;
        # nginx 1.5.9+ or higher
        # http://nginx.org/en/docs/http/ngx_http_spdy_module.html#spdy_headers_comp
        # http://nginx.org/en/docs/http/ngx_http_ssl_module.html#ssl_buffer_size
         spdy_headers_comp 6;
         ssl_buffer_size 4k;

        # enable ocsp stapling
        resolver 8.8.8.8;
        ssl_stapling on;
        ssl_stapling_verify on;
        ssl_trusted_certificate /usr/local/nginx/conf/ssl/domaincom/ssl-trusted.crt;

# ngx_pagespeed & ngx_pagespeed handler
#include /usr/local/nginx/conf/pagespeed.conf;
#include /usr/local/nginx/conf/pagespeedhandler.conf;
#include /usr/local/nginx/conf/pagespeedstatslog.conf;

  # limit_conn limit_per_ip 16;
  # ssi  on;

  access_log /home/nginx/domains/owncloud1.com/log/access.log combined buffer=32k;
  error_log /home/nginx/domains/owncloud1.com/log/error.log;

  root /home/nginx/domains/owncloud1.com/public;

include /usr/local/nginx/conf/owncloud.conf;

  include /usr/local/nginx/conf/phpowncloud.conf;
  include /usr/local/nginx/conf/staticfiles.conf;
  include /usr/local/nginx/conf/drop.conf;
  #include /usr/local/nginx/conf/errorpage.conf;
}
Now create file at /usr/local/nginx/conf/owncloud.conf and file at /usr/local/nginx/conf/phpowncloud.conf and add the following contents.
For /usr/local/nginx/conf/owncloud.conf
        client_max_body_size 10G; # set max upload size
        fastcgi_buffers 64 4K;

        rewrite ^/caldav(.*)$ /remote.php/caldav$1 redirect;
        rewrite ^/carddav(.*)$ /remote.php/carddav$1 redirect;
        rewrite ^/webdav(.*)$ /remote.php/webdav$1 redirect;

        index index.php;
        error_page 403 /core/templates/403.php;
        error_page 404 /core/templates/404.php;

#        location = /robots.txt {
#            allow all;
#            log_not_found off;
#            access_log off;
#        }

        location ~ ^/(data|config|\.ht|db_structure\.xml|README) {
                deny all;
        }

        location / {
                # The following 2 rules are only needed with webfinger
                rewrite ^/.well-known/host-meta /public.php?service=host-meta last;
                rewrite ^/.well-known/host-meta.json /public.php?service=host-meta-json last;

                rewrite ^/.well-known/carddav /remote.php/carddav/ redirect;
                rewrite ^/.well-known/caldav /remote.php/caldav/ redirect;

                rewrite ^(/core/doc/[^\/]+/)$ $1/index.html;

                try_files $uri $uri/ index.php;
        }
For /usr/local/nginx/conf/phpowncloud.conf
location ~ ^(.+?\.php)(/.*)?$ {
    fastcgi_split_path_info ^(.+\.php)(/.+)$;
    try_files $1 = 404;

    fastcgi_pass   127.0.0.1:9000;
    #fastcgi_pass   unix:/tmp/php5-fpm.sock;
    fastcgi_index  index.php;

    fastcgi_param SCRIPT_FILENAME $document_root$1;
    fastcgi_param PATH_INFO $2;

# might shave 200+ ms off PHP requests
# which don't pass on a content length header
# slightly faster page response time at the
# expensive of throughput / scalability
#sendfile on;
#tcp_nopush off;
#keepalive_requests 0;

fastcgi_connect_timeout 60;
fastcgi_send_timeout 180;
fastcgi_read_timeout 180;
fastcgi_buffer_size 512k;
fastcgi_buffers 512 16k;
fastcgi_busy_buffers_size 512k;
fastcgi_temp_file_write_size 512k;
fastcgi_intercept_errors on;

#new .04+ map method
fastcgi_param HTTPS $server_https;

# comment out PATH_TRANSLATED line if /usr/local/lib/php.ini sets following:
# cgi.fix_pathinfo=0
# as of centminmod v1.2.3-eva2000.01 default is set to cgi.fix_pathinfo=1

fastcgi_param  PATH_TRANSLATED    $document_root$fastcgi_path_info;

fastcgi_param  QUERY_STRING       $query_string;
fastcgi_param  REQUEST_METHOD     $request_method;
fastcgi_param  CONTENT_TYPE       $content_type;
fastcgi_param  CONTENT_LENGTH     $content_length;

fastcgi_param  SCRIPT_NAME        $fastcgi_script_name;
fastcgi_param  REQUEST_URI        $request_uri;
fastcgi_param  DOCUMENT_URI       $document_uri;
fastcgi_param  DOCUMENT_ROOT      $document_root;
fastcgi_param  SERVER_PROTOCOL    $server_protocol;

fastcgi_param  GATEWAY_INTERFACE  CGI/1.1;
fastcgi_param  SERVER_SOFTWARE    nginx/$nginx_version;

fastcgi_param  REMOTE_ADDR        $remote_addr;
fastcgi_param  REMOTE_PORT        $remote_port;
fastcgi_param  SERVER_ADDR        $server_addr;
fastcgi_param  SERVER_PORT        $server_port;
fastcgi_param  SERVER_NAME        $server_name;

# PHP only, required if PHP was built with --enable-force-cgi-redirect
fastcgi_param  REDIRECT_STATUS    200;

                   }
If you decide to let Nginx server the static files via Nginx X-Accel-Redirect http://doc.owncloud.org/server/6.0/admin_manual/configuration/xsendfile.html#nginx-x-accel-redirect, you need to add an additional line to /usr/local/nginx/conf/phpowncloud.conf
fastcgi_param MOD_X_ACCEL_REDIRECT_ENABLED on;
Just add it after PATH_INFO like
    fastcgi_param SCRIPT_FILENAME $document_root$1;
    fastcgi_param PATH_INFO $2;
    fastcgi_param MOD_X_ACCEL_REDIRECT_ENABLED on;
Then add to /usr/local/nginx/conf/owncloud.conf 3 more location contexts - paying attention to full path to data directory for your own specific vhost path /home/nginx/domains/owncloud1.com/public/data
location ~ ^/home/nginx/domains/owncloud1.com/public/data/.+$ {
    internal;
    root /;
}

location ~ ^/tmp/oc-noclean/.+$ {
    internal;
    root /;
}

location ~ "^/tmp/owncloud-oc[a-zA-Z0-9]{10}/.+$" {
    internal;
    root /;
}
Step 6. Restart Nginx and php-fpm services
service nginx restart
service php-fpm restart
or via command shortcut
nprestart
Step 7. Open domain in browser. i.e. http://owncloud1.com and click on the Advance setup button and fill it it with mysql username, password, mysql database name and for database server/host = localhost and proceed to finish setup within browser.
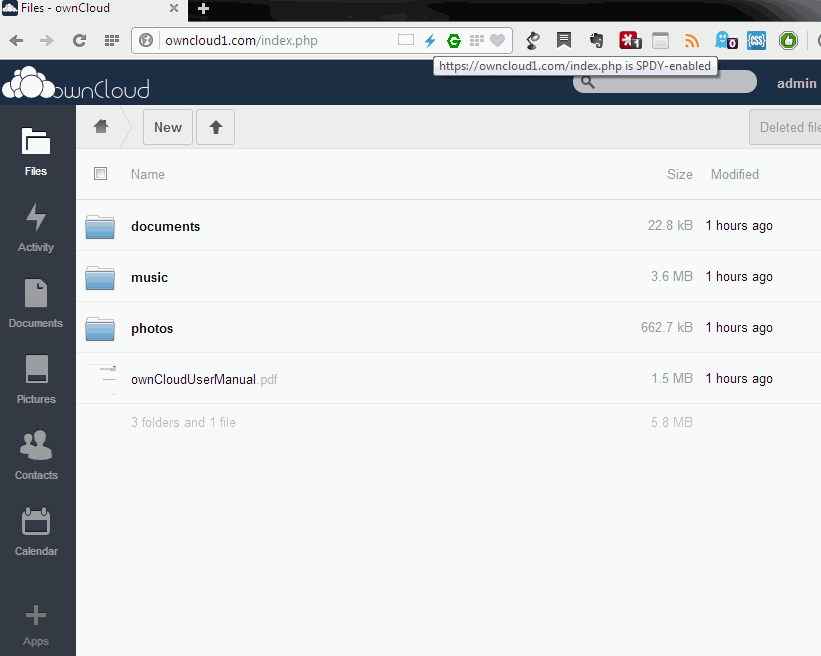
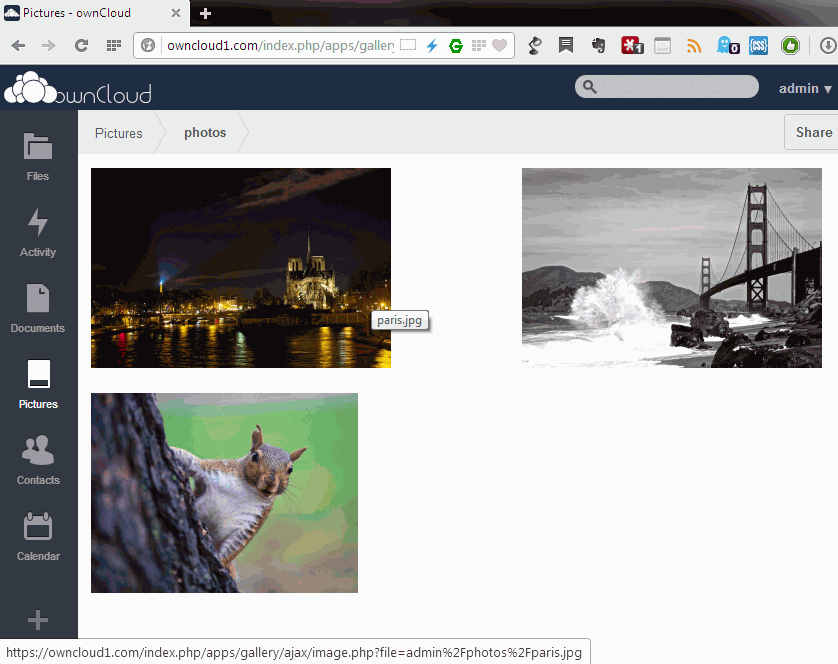
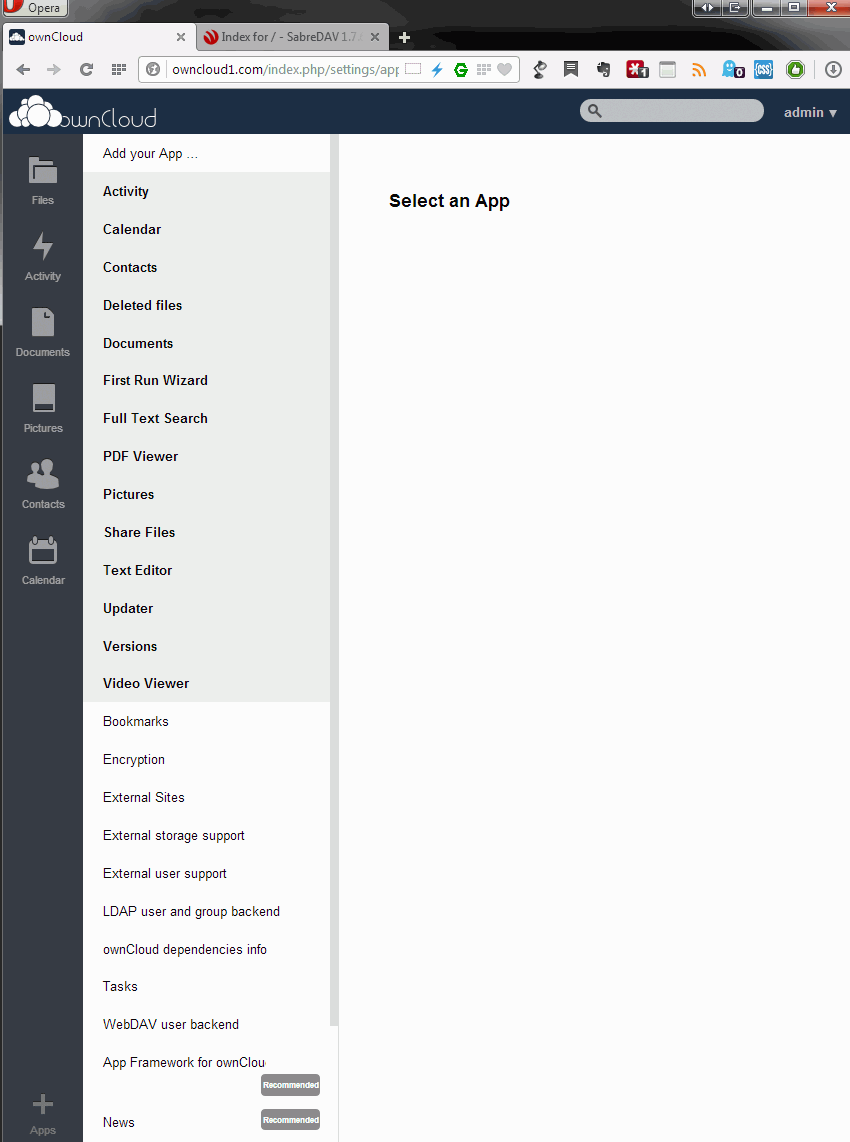
End result
PHP LDAP Extension support
By default Centmin Mod LEMP stack's PHP-FPM install has PHP LDAP Extension disabled if CentOS YUM package, openldap-clients is not detected as being installed. But with centmin.sh menu based PHP upgrade script has auto detection built in. So if you install YUM openldap-clients package, and recompile PHP-FPM via centmin.sh menu option #5, you can enable PHP LDAP extension support.
Steps for PHP LDAP extension enabling
- YUM install required openldap-clients package
yum -y install openldap-clients
- go to /usr/local/src/centmin-v1.2.3mod and run centmin.sh
cd /usr/local/src/centmin-v1.2.3mod
./centmin.sh
Select menu option #5 to recompile PHP specify PHP version 5.4.27 and wait for PHP to recompile with LDAP extension support.
./centmin.sh

--------------------------------------------------------
Centmin Mod 1.2.3-eva2000.07 - http://centminmod.com
--------------------------------------------------------
                   Centmin Mod Menu
--------------------------------------------------------
1).  Centmin Install
2).  Add Nginx vhost domain
3).  NSD setup domain name DNS
4).  Nginx Upgrade / Downgrade
5).  PHP Upgrade / Downgrade
6).  XCache Re-install
7).  APC Cache Re-install
8).  XCache Install
9).  APC Cache Install
10). Memcached Server Re-install
11). MariaDB 5.2, 5.5, 10 Upgrade Sub-Menu
12). Zend OpCache Install/Re-install
13). Install ioping.sh vbtechsupport.com/1239/
14). SELinux disable
15). Install/Re-install ImageMagick PHP Extension
16). Change SSHD Port Number
17). Multi-thread compression: pigz,pbzip2,lbzip2,p7zip etc
18). Suhosin PHP Extension install
19). Install FFMPEG and FFMPEG PHP Extension
20). NSD Re-install
21). Exit
--------------------------------------------------------
Enter option [ 1 - 21 ] 5
--------------------------------------------------------
Custom configure CSF settings...set

Do you want to run YUM install checks ?  [y/n]

This will increase your upgrade duration time wise.
Check the change log centminmod.com/changelog.html
to see if any Nginx or PHP related new additions
which require checking YUM prequisites are met.
If no new additions made, you can skip the
YUM install check to speed up upgrade time.

PHP Upgrade - Would you like to continue? [y/n] y

Install which version of PHP? (version i.e. 5.4.27): 5.4.27
Do you want to update to latest php-fpm.conf ? It will overwrite your existing php-fpm.conf [y/n]: n
*************************************************
* Upgrading PHP
*************************************************

Gracefully shutting down php-fpm . done
Starting php-fpm  done
*************************************************

Thu May  1 11:05:27 EST 2014
Success: PHP was installed properly

*************************************************
***************************************************
* PHP upgraded and auto reinstalled PHP extensions
***************************************************

ccache stats:
cache directory                     /home/.ccache
cache hit (direct)                   897
cache hit (preprocessed)            1035
cache miss                          2867
called for link                      217
called for preprocessing             314
compile failed                        64
preprocessor error                    48
bad compiler arguments                56
unsupported source language           63
autoconf compile/link                913
unsupported compiler option           12
no input file                        135
files in cache                      6082
cache size                         132.6 Mbytes
max cache size                       2.0 Gbytes
After compile list of PHP extensions loaded
php -m

[PHP Modules]
apc
bcmath
bz2
calendar
Core
ctype
curl
date
dom
enchant
ereg
exif
filter
ftp
gd
gettext
gmp
hash
iconv
igbinary
imagick
imap
intl
json
ldap
libxml
mbstring
mcrypt
memcache
memcached
mhash
mysql
mysqli
mysqlnd
openssl
pcntl
pcre
PDO
pdo_mysql
pdo_sqlite
Phar
posix
pspell
readline
Reflection
session
shmop
SimpleXML
soap
sockets
SPL
sqlite3
standard
sysvmsg
sysvsem
sysvshm
tidy
tokenizer
xml
xmlreader
xmlrpc
xmlwriter
zip
zlib
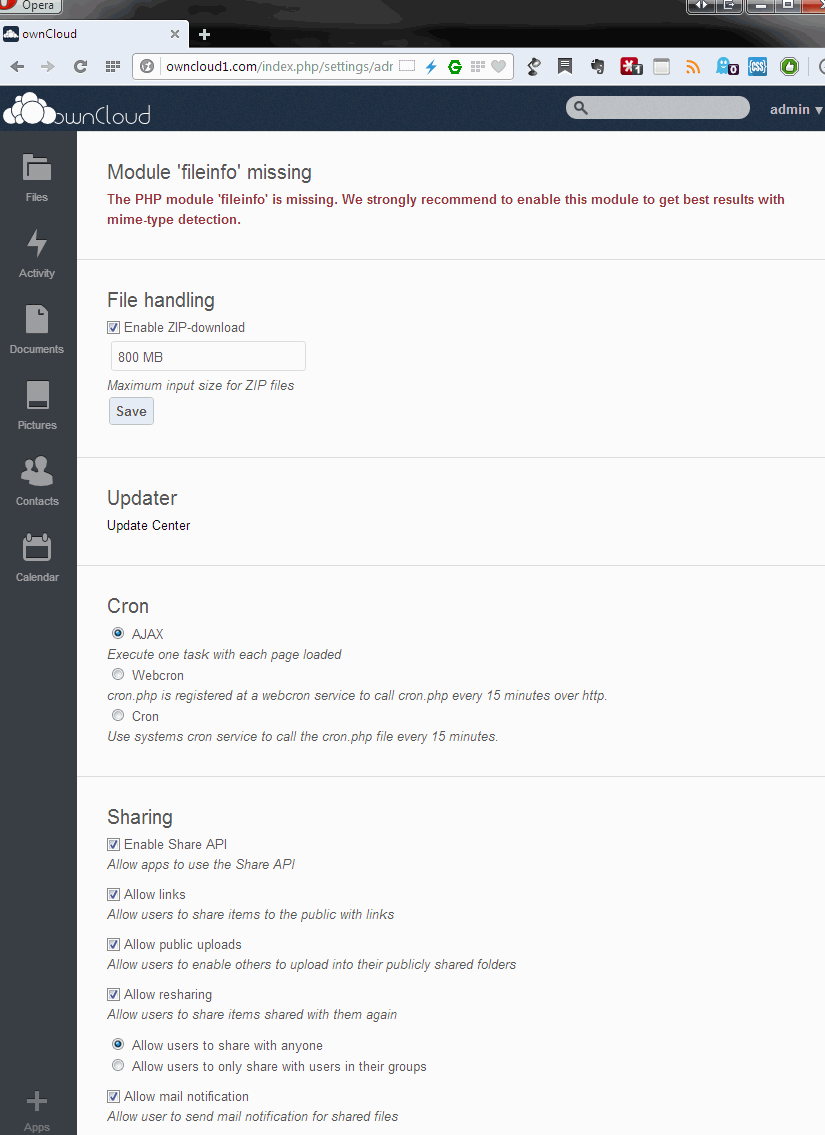
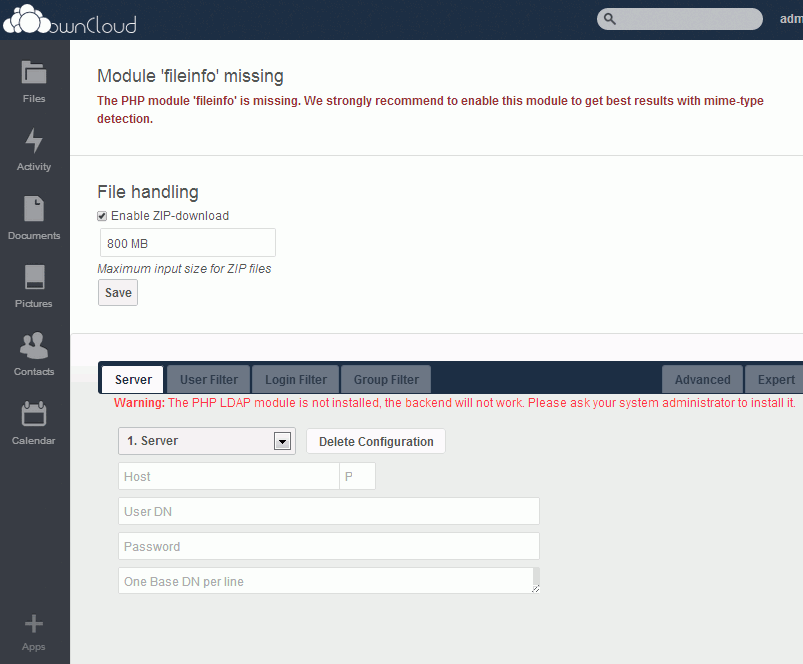
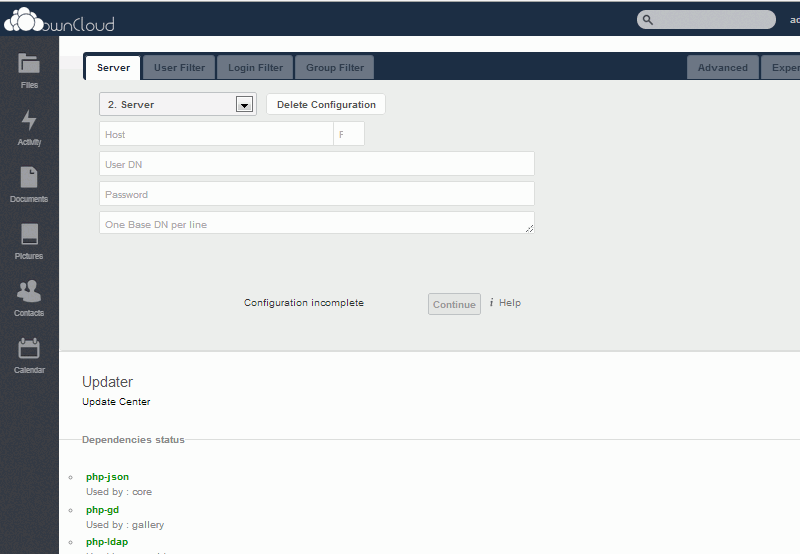
Before and after PHP LDAP Extension enabling
Notes
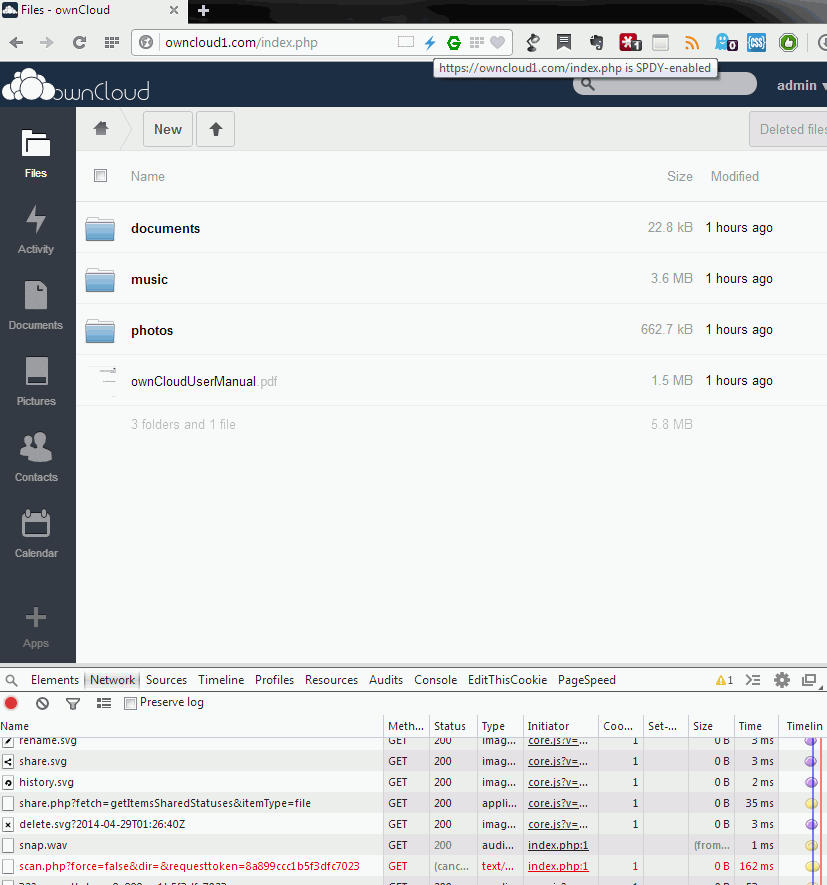
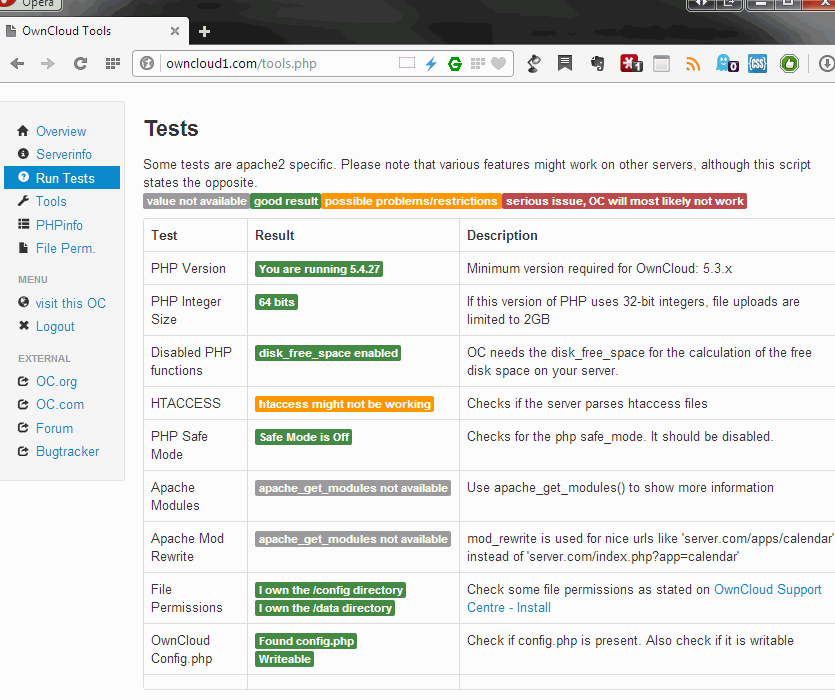
- Using Opera's developer tools to look at Owncloud index page loading, I see a cancelled request for scan.php file, but when I look into server error log at /home/nginx/domains/owncloud1.com/log/error.log, the request has a 200 status code, so not sure what scan.php does or whether it's working 100%. This is my first time installing and using Owncloud so this guide is provided as is. Asking other Owncloud users using Apache or Nginx also have this cancelled request but everything works fine. So I assume it's all working.
owncloud1.com access log entry at /home/nginx/domains/owncloud1.com/log/access.log
tail -50 /home/nginx/domains/owncloud1.com/log/access.log | grep scan

192.168.0.xxx - - [01/May/2014:05:30:43 +1000] "GET /index.php/apps/files/ajax/scan.php?force=false&dir=&requesttoken=8a899ccc1b5f3dfc7023 HTTP/1.1" 200 83 "https://owncloud1.com/index.php/apps/files" "Mozilla/5.0 (Windows NT 6.1; WOW64) AppleWebKit/537.36 (KHTML, like Gecko) Chrome/33.0.1750.154 Safari/537.36 OPR/20.0.1387.91"
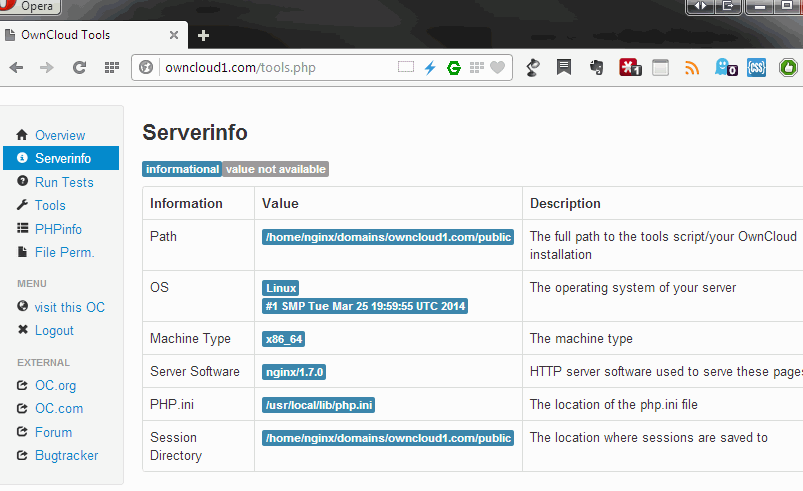
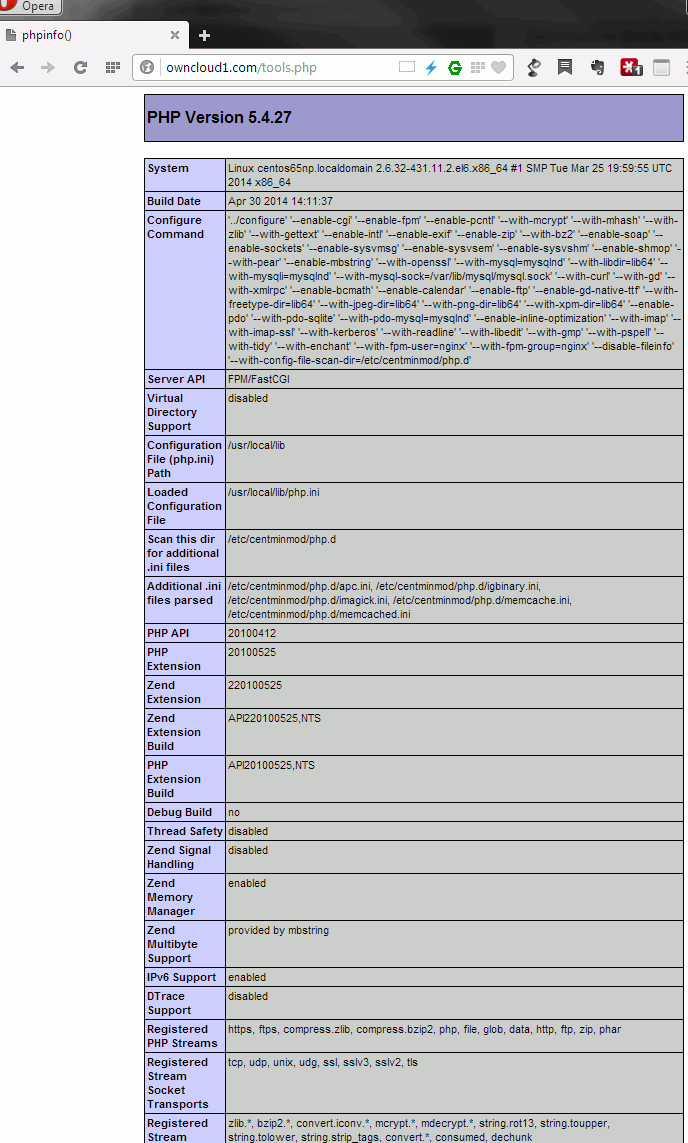
- tools.php file check from http://forum.owncloud.org/viewtopic.php?f=8&t=2921
- Nginx configuration
nginx -V
nginx version: nginx/1.7.0
built by gcc 4.4.7 20120313 (Red Hat 4.4.7-4) (GCC)
TLS SNI support enabled
configure arguments: --with-cc-opt='-I/svr-setup/staticlibssl/include -I/usr/include' --with-ld-opt='-L/svr-setup/staticlibssl/lib -Wl,-rpath -lssl -lcrypto -ldl -lz' --sbin-path=/usr/local/sbin --conf-path=/usr/local/nginx/conf/nginx.conf --with-http_ssl_module --with-http_gzip_static_module --with-http_stub_status_module --with-http_sub_module --with-http_addition_module --with-http_image_filter_module --with-http_secure_link_module --with-http_flv_module --with-http_realip_module --with-openssl-opt=enable-tlsext --add-module=../ngx-fancyindex-ngx-fancyindex --add-module=../ngx_cache_purge-2.1 --add-module=../headers-more-nginx-module-0.25 --add-module=../nginx-accesskey-2.0.3 --add-module=../nginx-http-concat-master --with-http_dav_module --add-module=../nginx-dav-ext-module-0.0.3 --with-openssl=../openssl-1.0.1g --with-libatomic --with-pcre=../pcre-8.35 --with-pcre-jit --with-http_spdy_module --add-module=../ngx_pagespeed-release-1.7.30.4-beta

